
 |
| Immigration |
What You Should Know:
- Memorize your passport number, expiration date, and flight details
- Be ready to explain your purpose of travel (leisure or tourism)
- Be clear about who you’re traveling with (solo or group)
- Know the number of days you’ll be abroad
- Stay calm and answer confidently but honestly
In my case, the Immigration Officer was straightforward, asked about the trip, and after confirming my documents, I was cleared in less than five minutes.
Booking and Pre-Flight Prep
We booked a Cebu Pacific flight from NAIA Terminal 3 to Taoyuan International Airport. It was scheduled for a Wednesday midnight, which was perfect for travelers like us who wanted to maximize our first day in Taipei.
 |
| Us with our friend, Gelo |
I was traveling with my wife and a couple of friends, so we made sure to arrive at the airport 3 to 4 hours before our scheduled departure. At that hour, NAIA Terminal 3 was already buzzing with passengers and airport staff.
 |
| Every entry you should show your plane ticket |
The moment we got off the taxi, airport personnel approached us asking for our flight information. Thankfully, I had a digital copy of our ticket ready on my phone.
Check-In Process
Since we were all traveling light with no checked baggage, we were guided to the Documents Check counter instead of the regular check-in lines. There, we presented our passports, had our documents reviewed, and were promptly given our boarding passes.
 |
| Cebu Pacific Document Check counter |
From there, we headed to the Immigration area, where each of us was interviewed separately. My interview was simple: the officer asked about our flight and the purpose of travel.
 |
| This is the moment! |
He wasn’t intimidating—more like doing a routine check—and I was relieved to get cleared quickly.
Security Check & Boarding Gate
After immigration, we passed through a strict security screening—even shoes had to be removed!
 |
| Took off shoes at the security check |
All gadgets were placed in trays. Once cleared, we walked toward our boarding gate: Gate 105. Terminal 3’s long alley felt endless, but the good news was there were many open shops, souvenir stores, and restaurants, even at 10 PM.
 |
| Stores inside Terminal 3 departure |
We had a quick dinner at Kenny Rogers, though the prices were noticeably higher than regular branches outside the airport.
 |
| Going to Gate 105 |
Along the way, we saw walkalators, charging ports, restrooms, and free WiFi—definitely a more pleasant pre-departure experience than I expected.
 |
| I spotted a kids playground at the departure hall in T3 |
In-Flight Experience
We finally boarded a few minutes before midnight. Cebu Pacific’s flight was on time, and it was a short and uneventful journey. In just 1 hour and 30 minutes, we touched down at Taoyuan International Airport Terminal 1 around 1:00 AM.
 |
| Goodbye Manila |
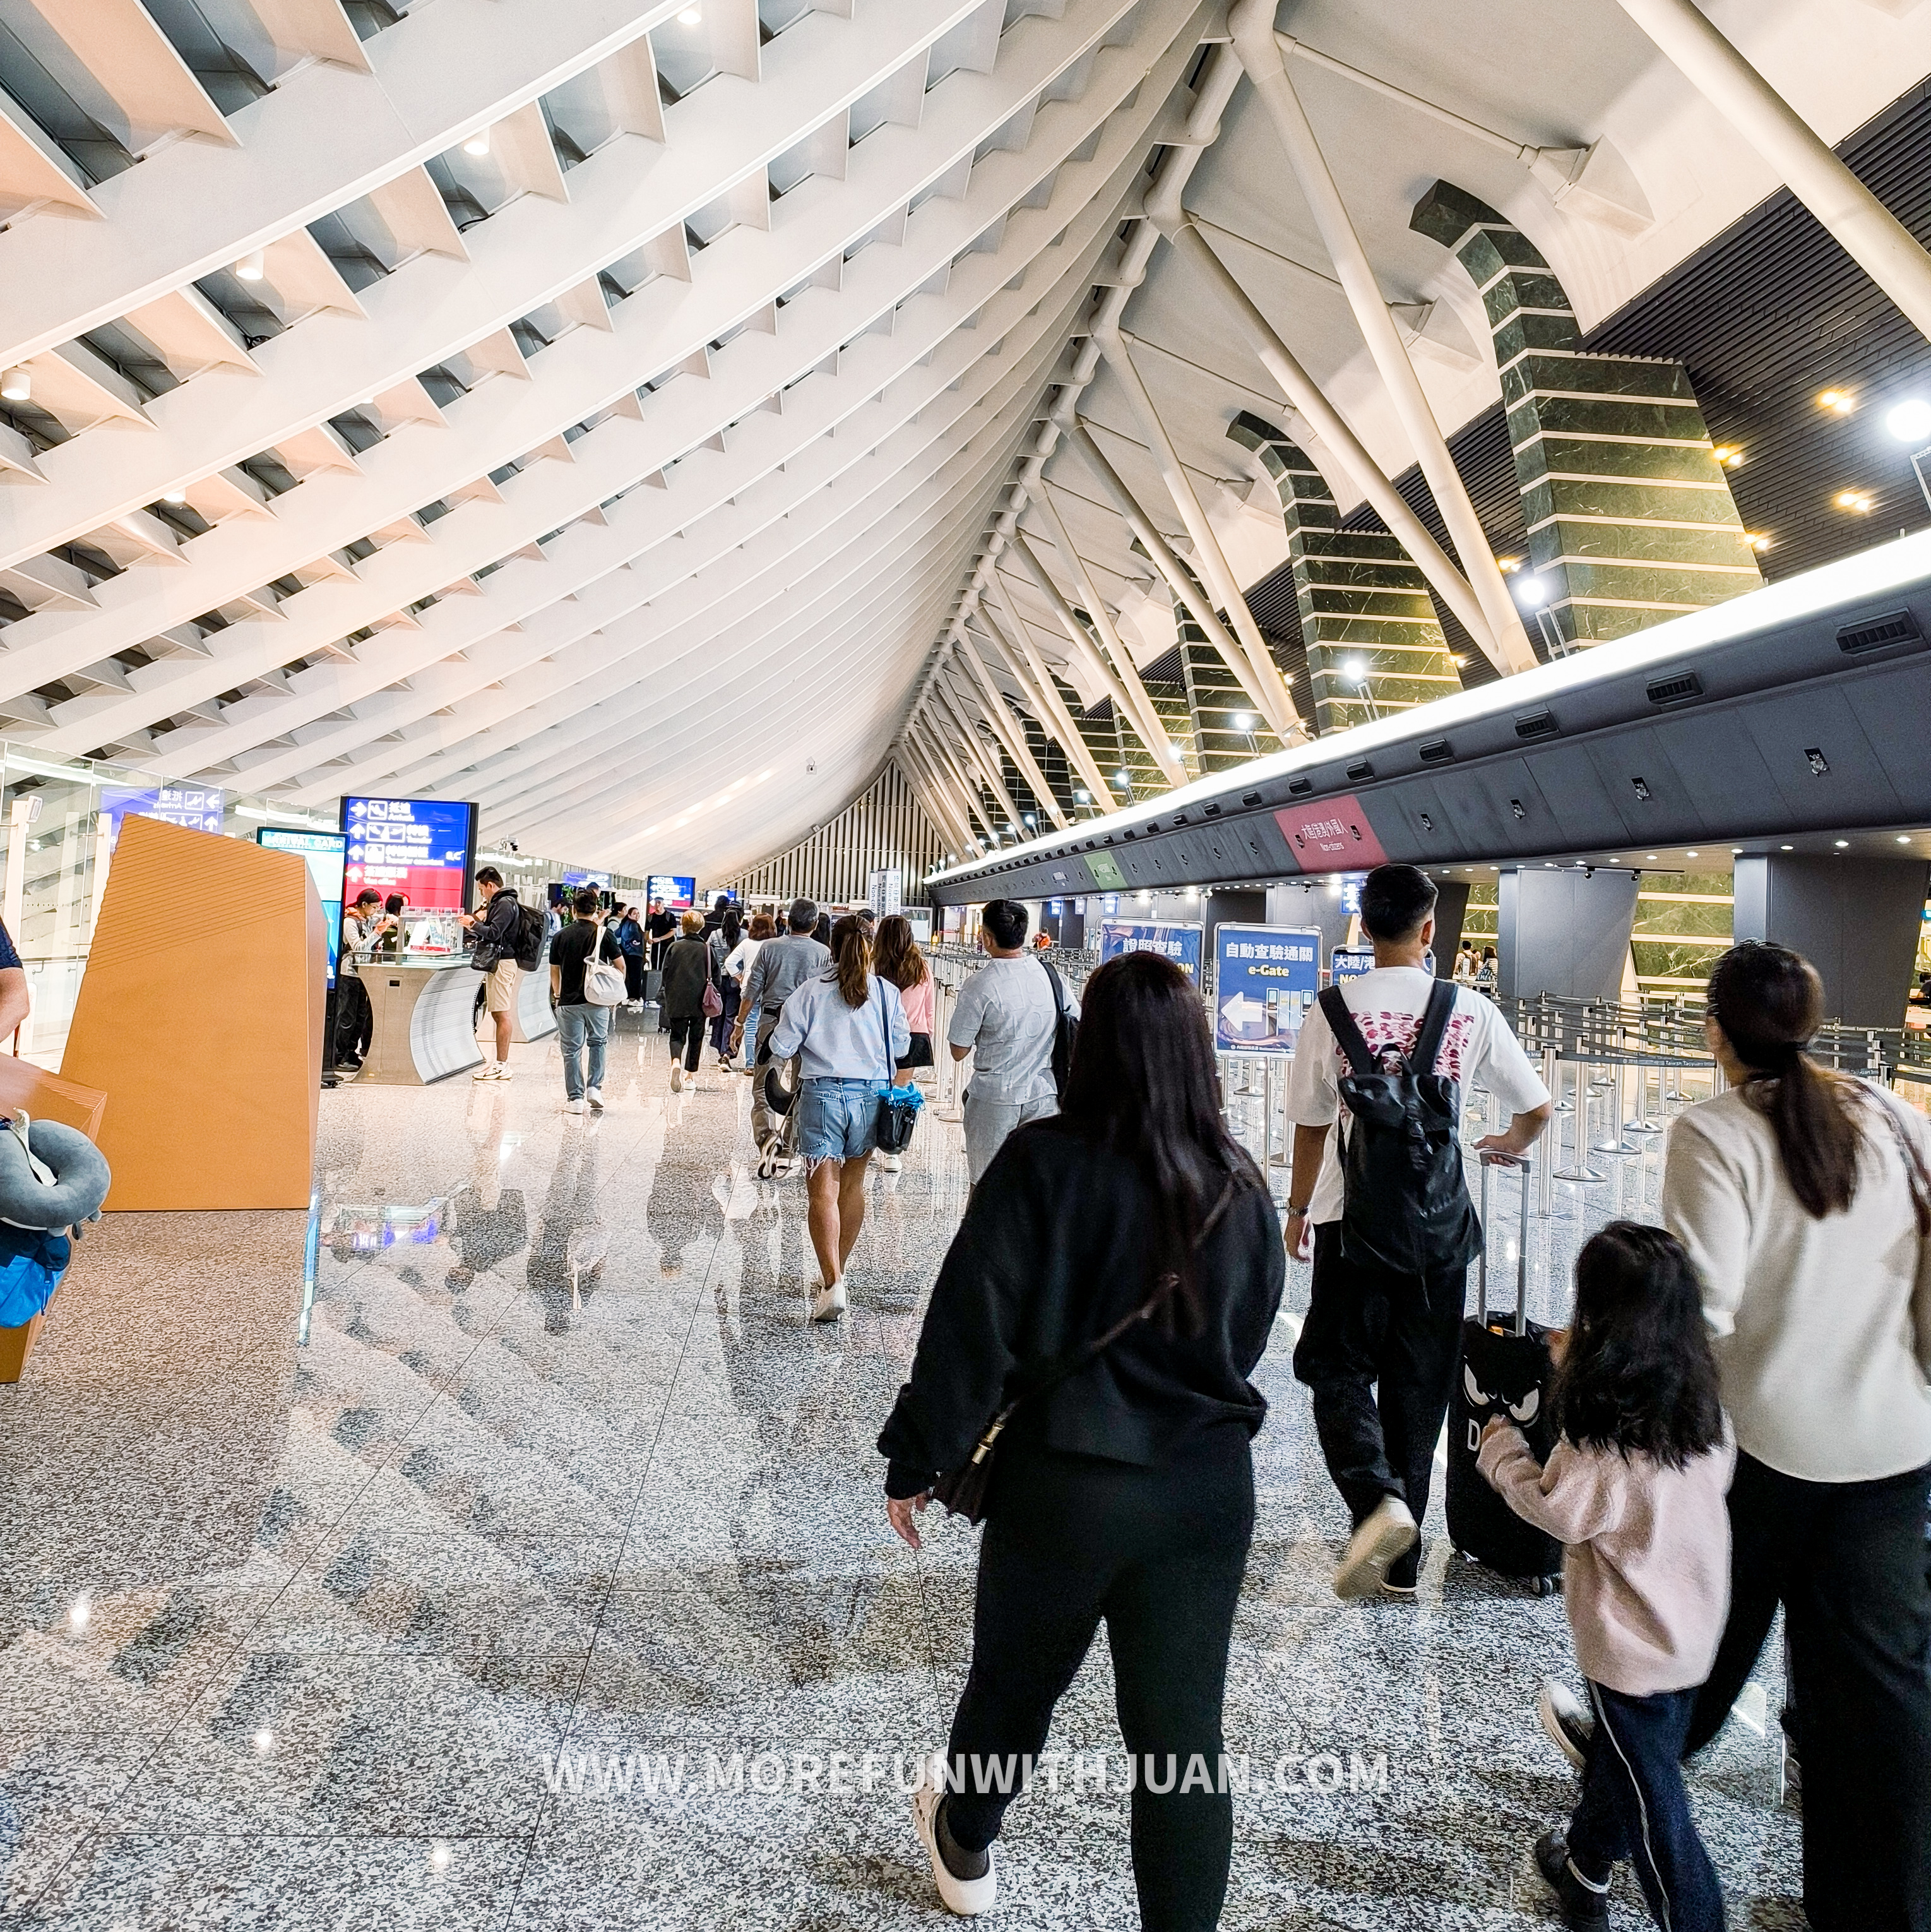
Airport Immigration & Facilities
Upon arrival, the airport felt almost deserted—quiet and eerily clean. Most shops were closed at that hour, with only vending machines operating.
 |
| Arrival hall at Taoyuan Airport T1 |
We proceeded to the Immigration area, where we simply presented our passports. There was barely any conversation; they scanned our documents and let us through smoothly.
Taiwan’s e-Gates were particularly impressive. You just scan your passport, take a quick selfie, and that’s it. No need to line up if you’re eligible for automated entry.
 |
| Baggage carousel area |
We walked past the baggage claim area and waited for our friends who took a bit longer at immigration.
 |
| Making withdrawals from Bank of Taiwan ATM |
We then looked for an ATM machine, and I found a Bank of Taiwan ATM near the South Meeting Point, where I was able to withdraw cash using my SeaBank card.
 |
| We opted to withdraw NT$ 10,000 for the 3-day trip in Taiwan |
Trying Our Luck at Lucky Land
We also spotted the Lucky Land booth, where tourists can try winning NT$5,000 worth of e-vouchers. Out of all of us, only one friend got lucky, but it was a fun experience either way.
 |
| Taiwan Lucky Land Booth |
 |
| Our friend won NT$ 5,000 Lucky Land e-voucher |
 |
| Transfer signage from TPE first level |
Where to Catch the Bus
We went to the basement level, where there’s a 7-Eleven (yes, it was open!) and ticketing counters.
 |
| A 7-Eleven store at Taoyuan Airport basement |
An elderly man was manning the Kuo-Kuang counter, and he sold us tickets for NT$133 per person.
 |
| Kuo-Kuang Bus Ticket to Taipei |
Luckily, there was a bus ready to leave, so we didn’t have to wait long.
 |
| Kuo-Kuang Bus to Taipei |
 |
| Inside Kuo-Kuang Bus |
In about an hour, we arrived at Taipei Main Station.
Instead of Taipei Main Station, we were dropped off Taipei Bus Station which is connected to Taipei Main Station
 |
| Taipei Bus Station |
From here, we hailed a taxi to our hotel in Ximending, which was just about 6 minutes away.
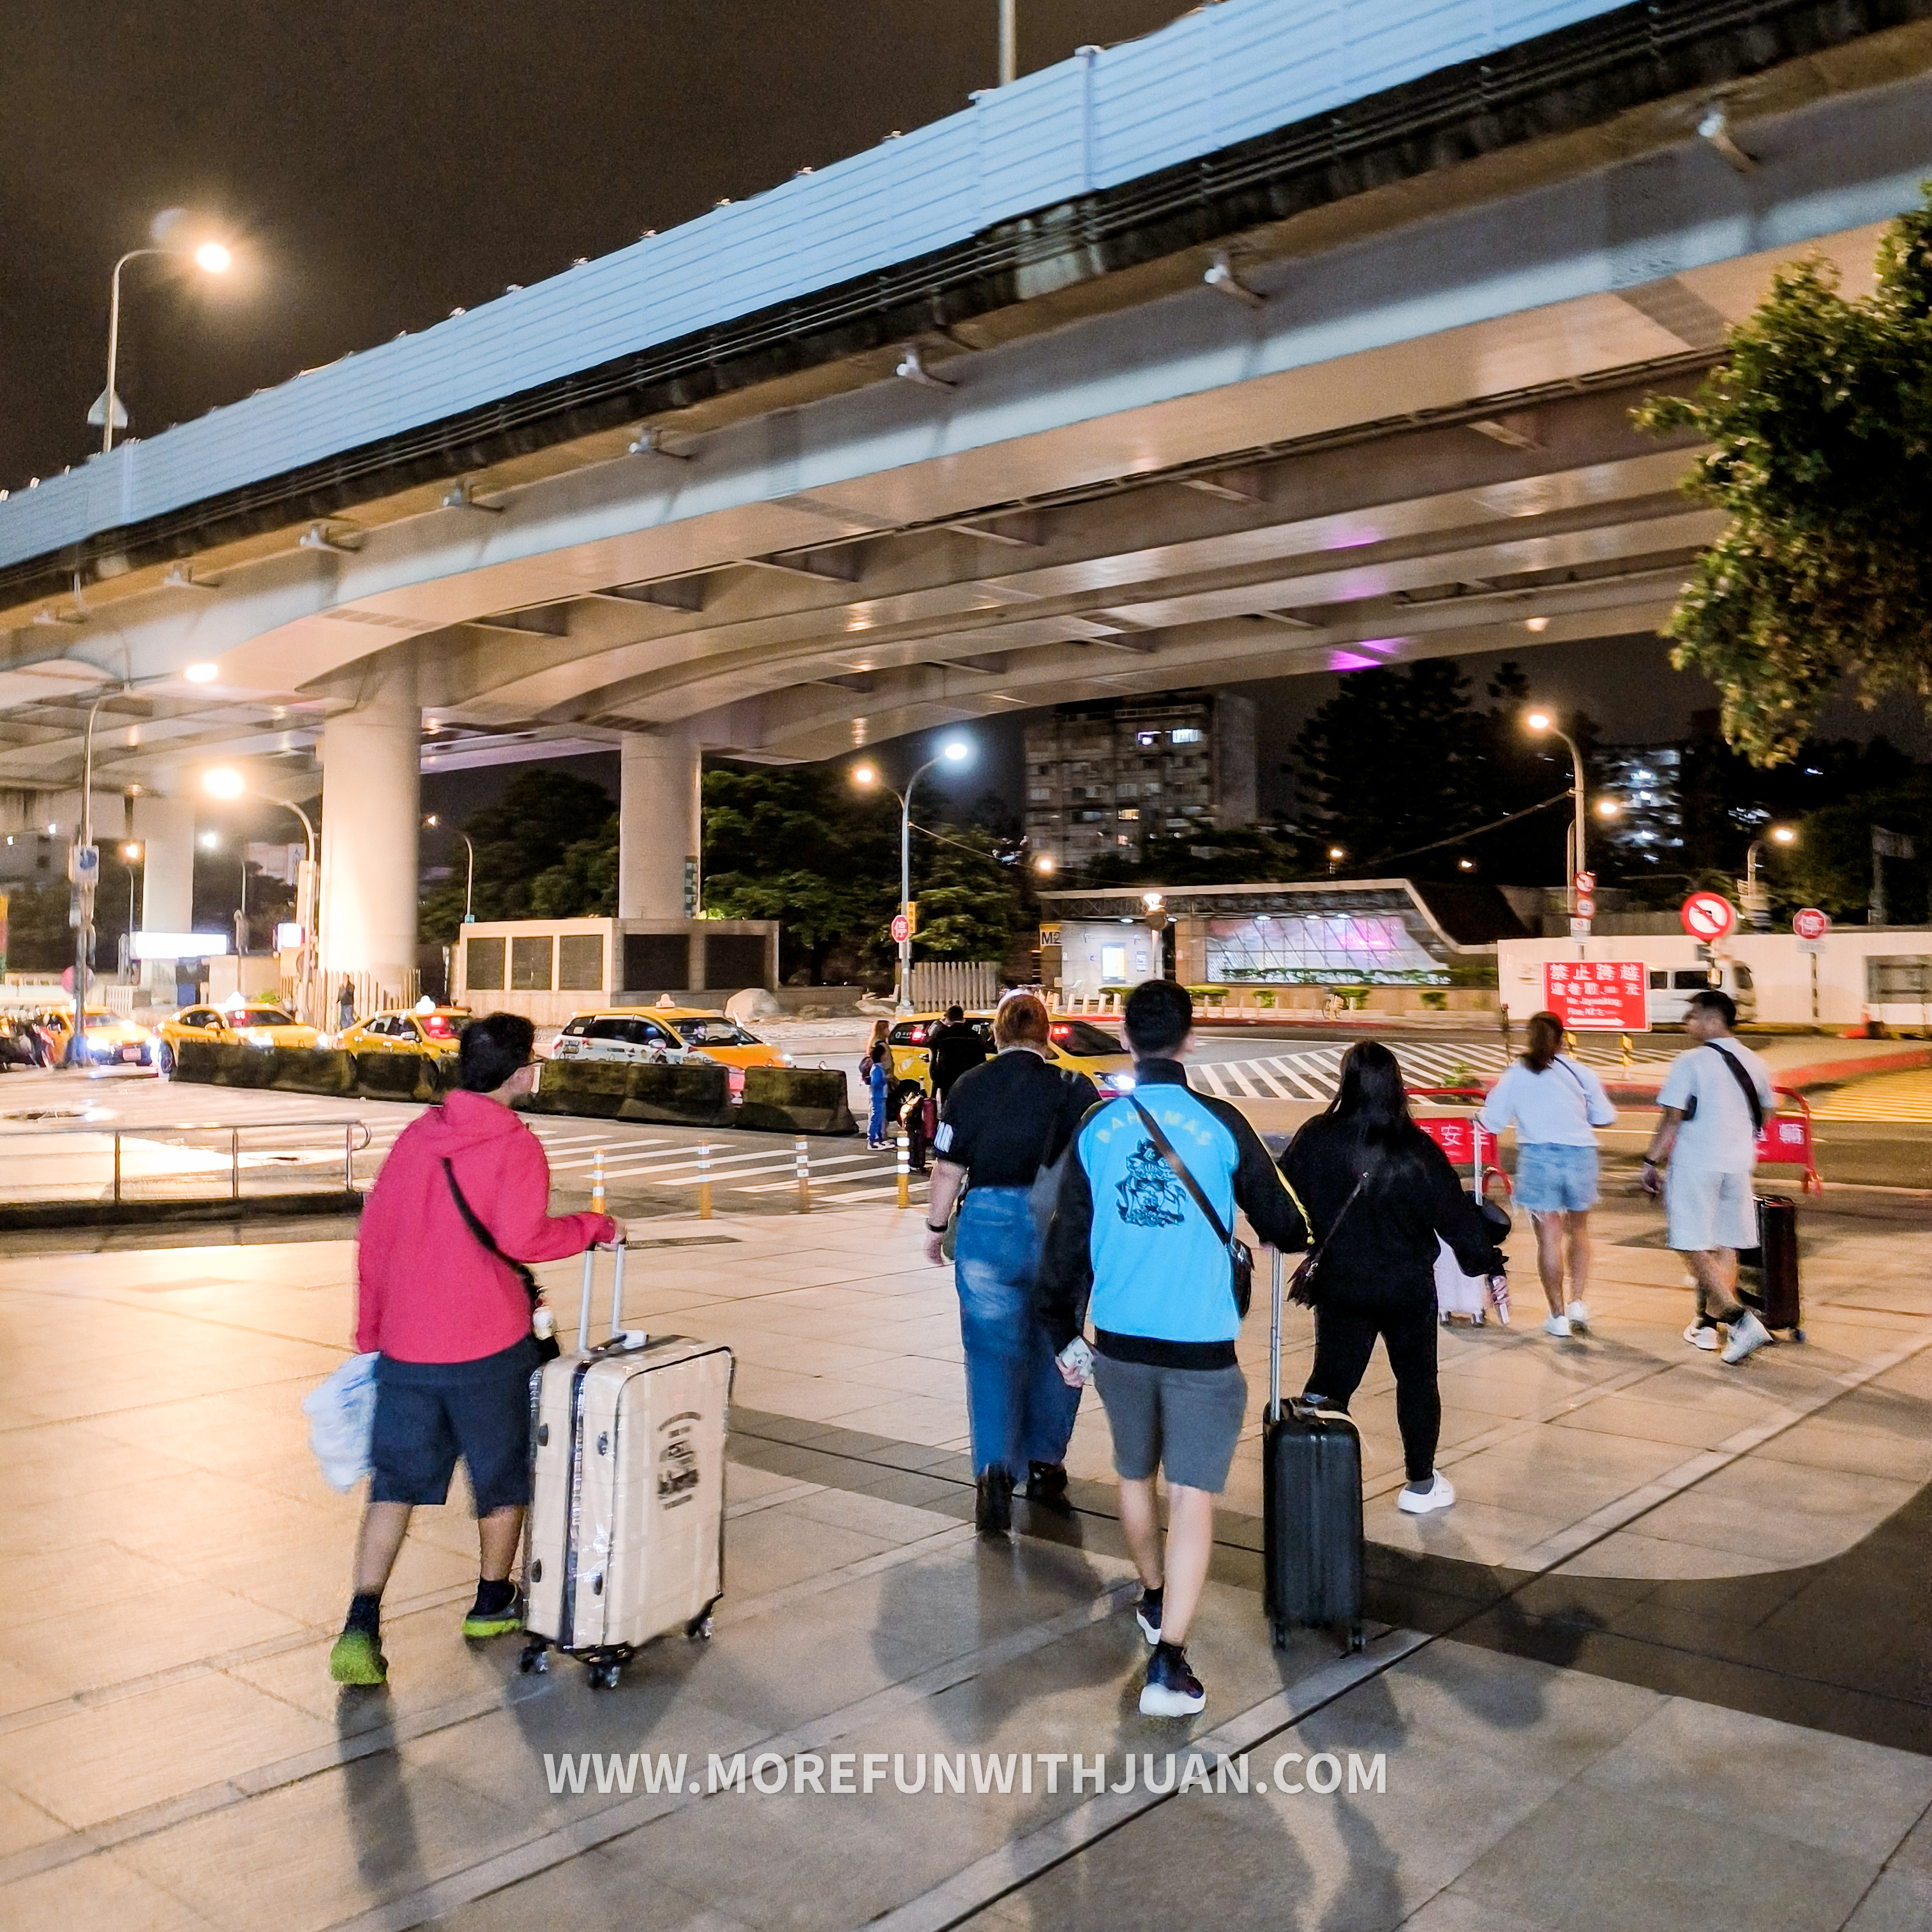 |
| Us catching a taxi ride in front of Taipei Bus Station |
The fare was NT$200 for the three of us, but we later realized an Uber would have cost only NT$100. Still, it was early morning and we were tired, so we were just glad to finally get to our hotel.
- Purchase at Taoyuan Airport or online in advance (Klook, KKDay)
- Common providers: Chunghwa Telecom, Taiwan Mobile
- Cost: Around NT$300–NT$500 for 3–5 days of unlimited data
Option 2: eSIM
- Ideal for newer iPhones or Android devices with eSIM capability
- Buy online and activate via QR code before you arrive
- No need to swap SIMs!
- Recommended: Airalo, Klook eSIM, or Holafly
- Cost: Similar to physical SIMs, around NT$300–NT$500
Tip: Airport WiFi is free and fast, so you can download and activate your eSIM right after landing if needed. The EasyCard is a contactless card used for:
- MRT and buses
- Maokong Gondola
- Convenience stores (7-Eleven, FamilyMart)
- Some vending machines and attractions
Where to Buy:
- MRT stations, airport kiosks, or convenience stores
- Cost: NT$100 (non-refundable) + load amount
How Much to Load:
